
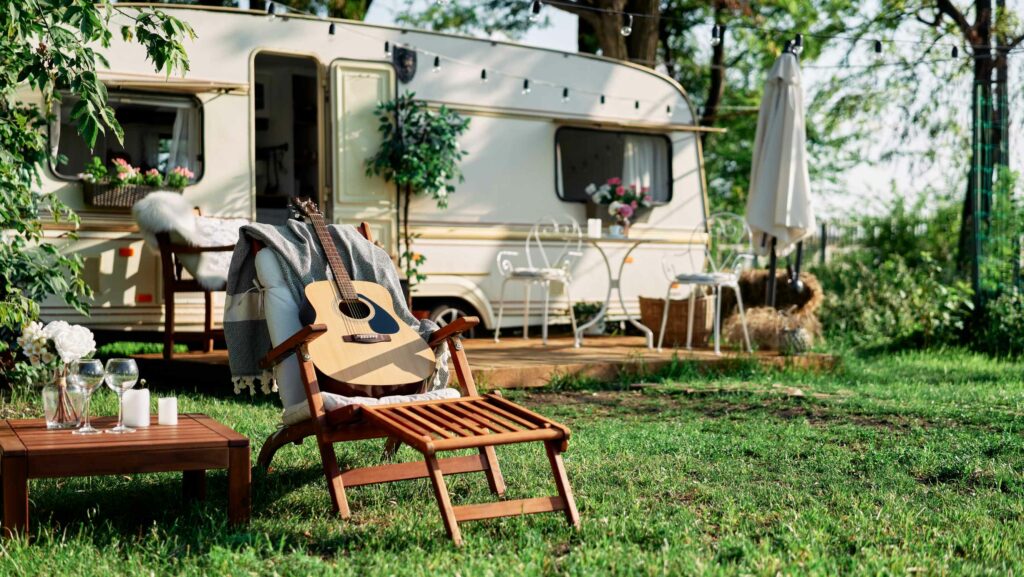
Transforming the space outside your camper into a cozy, functional retreat is easier than you might think. With a few DIY camper deck ideas, you can create an inviting extension of your living space that enhances your outdoor adventures. Whether you’re parked by a serene lake or nestled in a bustling campground, the right deck setup can turn your camper area into a delightful outdoor haven.
From portable and lightweight designs to more permanent, sturdy structures, the possibilities are endless. These decks not only provide a solid ground to enjoy nature but also add a touch of personal style to your mobile abode. Let’s explore how to make the most of your outdoor space with creative and practical deck solutions that are sure to elevate your camping experience.
DIY Camper Deck Ideas
 Building your own camper deck offers a host of advantages, enhancing the overall camping experience. It provides additional living space, extending the functional area of a camper. This extra space is ideal for setting up outdoor furniture, such as chairs, tables, and even outdoor rugs, creating an ideal environment for relaxation and entertaining. Additionally, a DIY deck increases a camper’s appeal, potentially raising its resale value.
Environmental control is another significant benefit. A well-designed deck can help minimize the amount of dirt and mud tracked inside the camper. Depending on the materials and design, it can also offer enhanced insulation against ground cold or dampness. Moreover, personalizing the deck by choosing specific materials and design aesthetics allows campers to express their style and preferences, making the outdoor space feel more personal and home-like.
Key Considerations Before Starting
Before embarking on the construction of a camper deck, there are several critical factors to consider to ensure the success of the project. First, assess the available space around the camper. This assessment will determine the maximum size of the deck and help in planning the layout that best utilizes the space without obstructing the natural environment or campsite regulations.
Material selection plays a critical role, influencing not only the durability and maintenance of the deck but also its environmental impact and portability. Lightweight materials such as composite panels or specially treated woods are preferable for easy transportation and setup. Checking for weather resistance is crucial, as the materials should withstand various climatic conditions.
Essential Materials for Your DIY Camper Deck
 Selecting the appropriate wood is crucial for the durability and aesthetics of your DIY camper deck. Hardwoods like teak, cedar, and redwood provide resistance to weather and insects, making them excellent choices for outdoor use. Each wood type offers unique color and grain patterns, allowing for a custom look that can enhance the overall appearance of the camper. Pressure-treated lumber is a cost-effective option that offers robust durability against decay and pests, if budget considerations are important. The choice of wood impacts not only the longevity of the deck but also its maintenance needs and initial cost.
Gathering these tools and supplies before starting the project can help streamline the building process, making it more efficient and reducing potential setbacks.
Step-by-Step Guide to Building a Camper Deck
 Start your camper deck project by drafting a comprehensive plan. Measure the available space around your camper to ensure the deck dimensions fit perfectly. Draw a detailed blueprint that includes placement of posts, beams, and joists. Consider integrating features like steps or multiple levels if space and budget allow. For optimal results, use design software or consult with a decking professional to refine your plan.
The base is the foundation of any sturdy camper deck. First, identify the precise location for the deck and clear the ground of debris. Set concrete footers to anchor the structure securely; these should be positioned below the frost line to prevent shifting during freeze-thaw cycles. Attach post bases and vertical support posts next. Once these are installed, ensure they are level and square for the subsequent steps. Connect the posts with horizontal beams, then add joists across the beams spaced at regular intervals to give the deck its strength and stability.